NextJS Websites Hosted with Amplify
This article will guide you through how to host your NextJS website using AWS Amplifys user interface

NextJS Websites Hosted with Amplify
If you have a website written using the NextJS framework, then you might be looking at various hosting platforms out there. Vercel is one of my favorite platforms to host NextJS sites and rightfully so as they are the guys who wrote NextJS in the first place. However, if like me you use AWS then you might also find it beneficial to host some of your projects using AWS's Amplify service, this guide shows you how.
Please Note: - At the time of writing this article (29th March 2022) there are currently 2 bugs I've found with Amplify that might affect the NextJS /api/ path. The first is that environment variables must all be prefixed with "NEXT_PUBLIC_" when within the api directory contents (going against the rules of NextJS) and secondly, Amplify does not work at all with the /api/ on Version 12.1.0 - I had to revert back to v 12.0.8 to get it working. I.e. yarn remove next and then yarn add next@12.0.8
Before you start
In this example we will be using a NextJS app version 12.0.8, saved in a Github repo. I am using AWS region eu-west-2 but you can use any region of your choice
- Make sure you have a NextJS website ready, if needs be start a new one with
npx create-next-app@12.0.8 - Add it to your Github account (can be private and temporary)
Lets go:
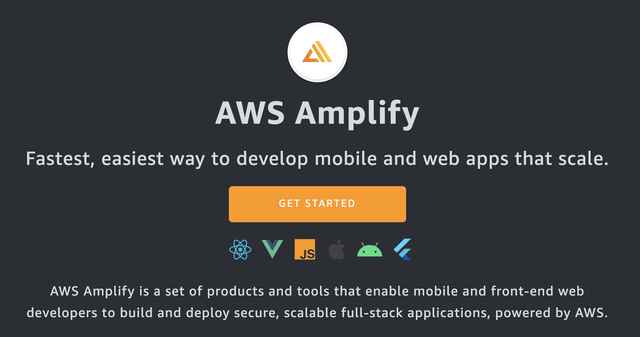
- Login to your AWS Account, and go to the Amplify Console, click get started
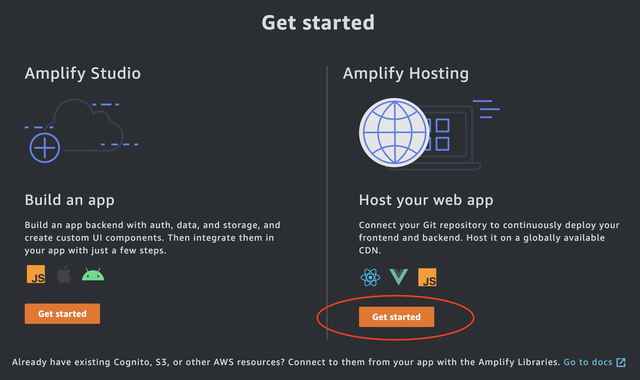
- We want to choose Amplify hosting not Studio (that's a backend part and I'll be writing another guide about that soon!)
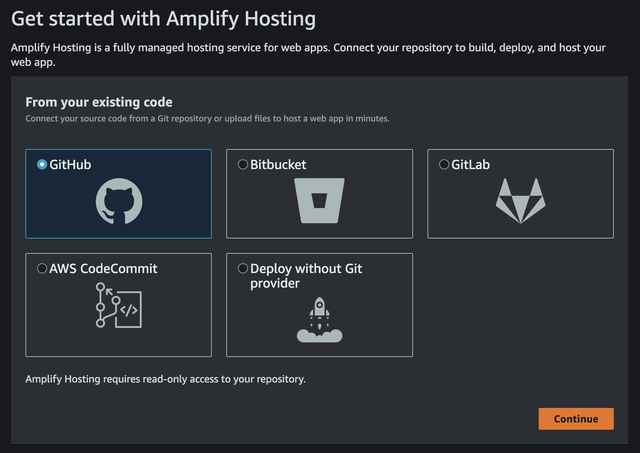
- Now choose Github (or another GIT repository)
- Now sign-in to your GitHub account and authorize Amplify to access either all your repos, or specific ones.
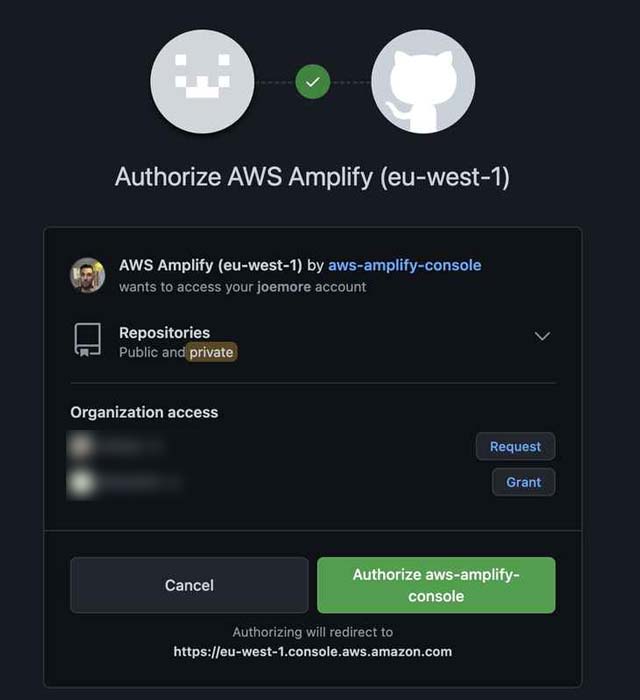
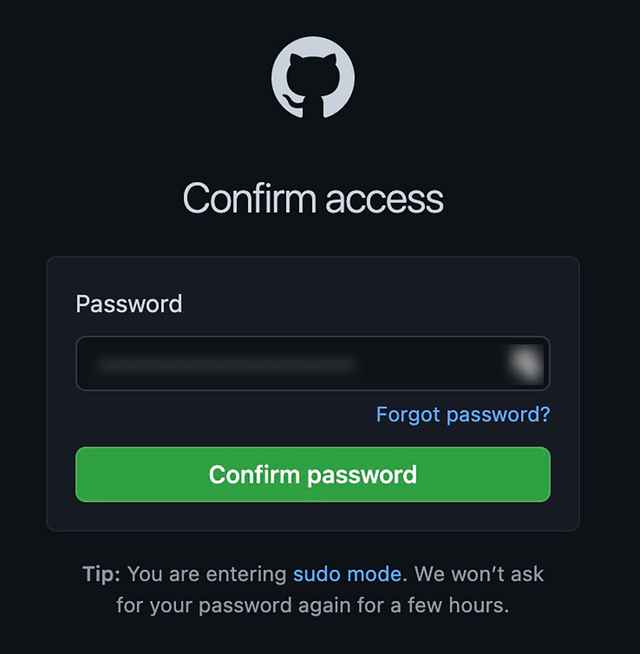
- Enter your password to confirm
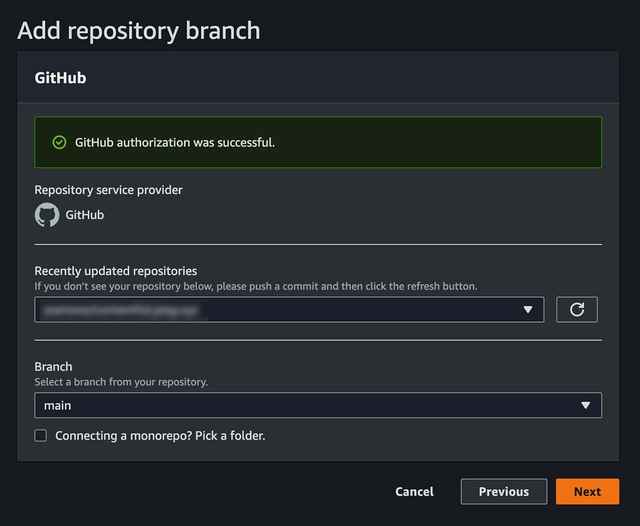
- You should now be able to choose your repo from the list
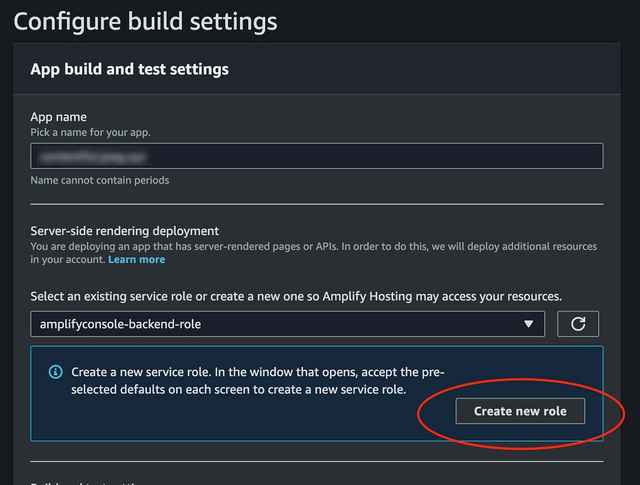
- We now need to create a new backend role, this is what NextJS requires to process things like images, SSR and the /api/ folder. So click "Create New Role"
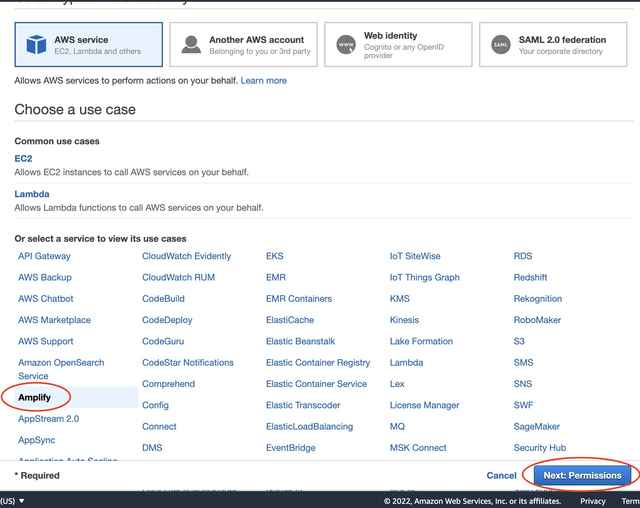
- It will open up a new window with the selected options already selected for you, choose "Next: Permissions"
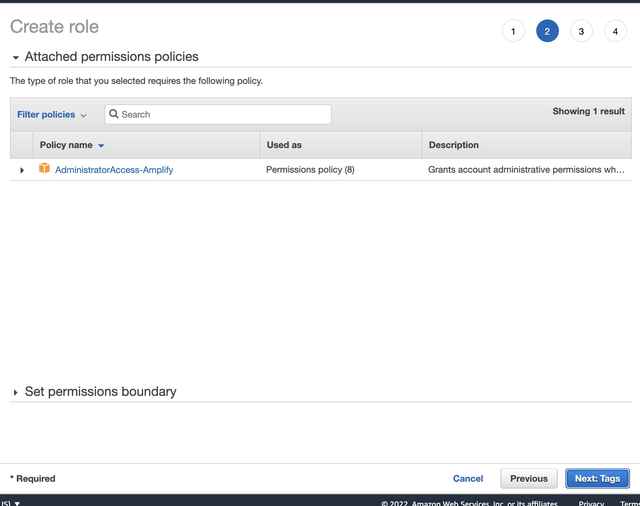
- This show the policy name, you can expand it if you wish to see whats happening, Click "Next: Tags" and click next again (FYI - I've not included the tags screenshot)
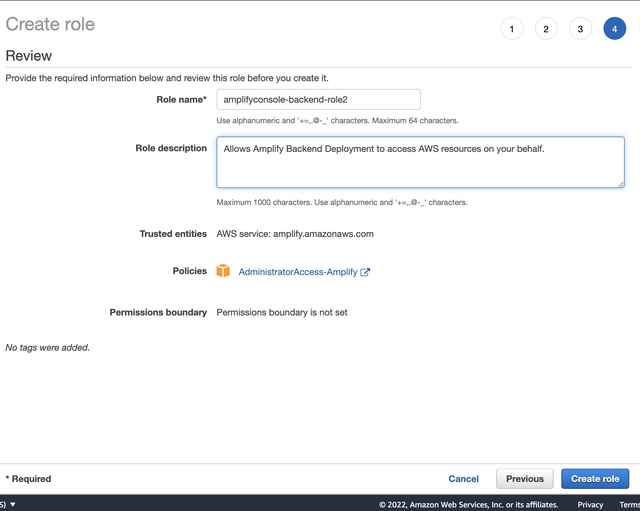
- Finally you can name your role here, and edit the description (or just use the defaults) and click "Create role"
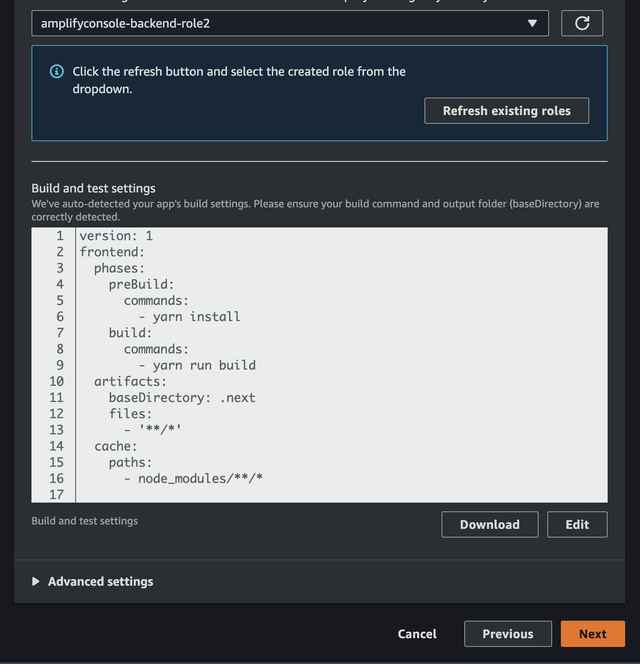
- Once you return to Amplify you'll be able to select the newly created role, and on this page review the build settings
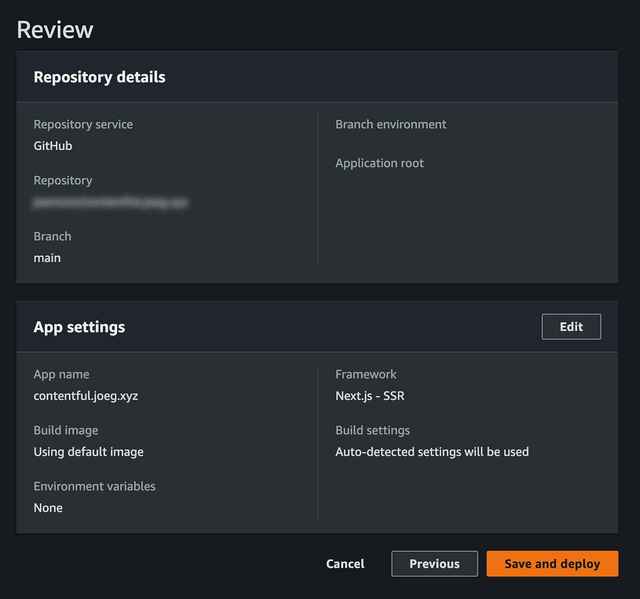
- We are then taken to a page where we can review our Amplify setup, click "Save and Deploy"
- Our NextJS Website will then be deployed, built and hosted and once ready
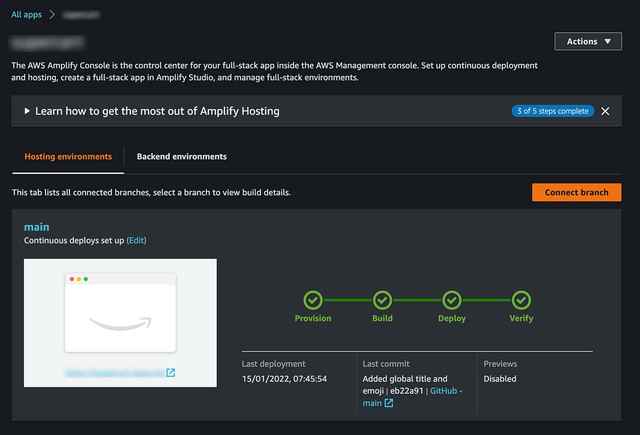
...and that's it, we now have a fully hosted NextJS website, that re-builds automatically when you push content into your GitHub repo.
Further improvements:
- Click on Domain Management" on the left to add a domain you own in route53 to your website, if you wish to just use a subdomain, then make sure you press the "exclude root" button on setup
- Notifications - allows you to be emailed whenever a new build is in progress, excellent if you have team members all working on the same repo.
- Environment variables - Add key/value pairs to display/use in your NextJS App
- Access control - add a username and password to protect your site until it's ready for public viewing.
- Amplify Studio - Add a full backend system to administer your website, the power of AWS with the simplicity of Amplify.
For more reading please see the AWS Amplify Documentation